Our colour and writing products are manufactured in our workshops in Geneva since 1915.
- FREE GIFT WRAP AND PERSONALIZED MESSAGE. FREE DELIVERY ON ORDERS OVER 60€.
COLOURFUL BADGES
A FUN ACTIVITY THAT’S EASY TO DO
FOR YOUNG AND OLD ALIKE
Enjoy a creative moment with all the family thanks to these colourful, easy-to-make badges dreamed up in collaboration with the artist Steffie Brocoli.
With this do-it-yourself idea, you will learn to create original badges that you can attach anywhere you want!
So grab your favourite Neocolor I colour pastels and some shrink plastic sheets, and give free rein to your imagination by following our step-by-step guide!
With this do-it-yourself idea, you will learn to create original badges that you can attach anywhere you want!
So grab your favourite Neocolor I colour pastels and some shrink plastic sheets, and give free rein to your imagination by following our step-by-step guide!
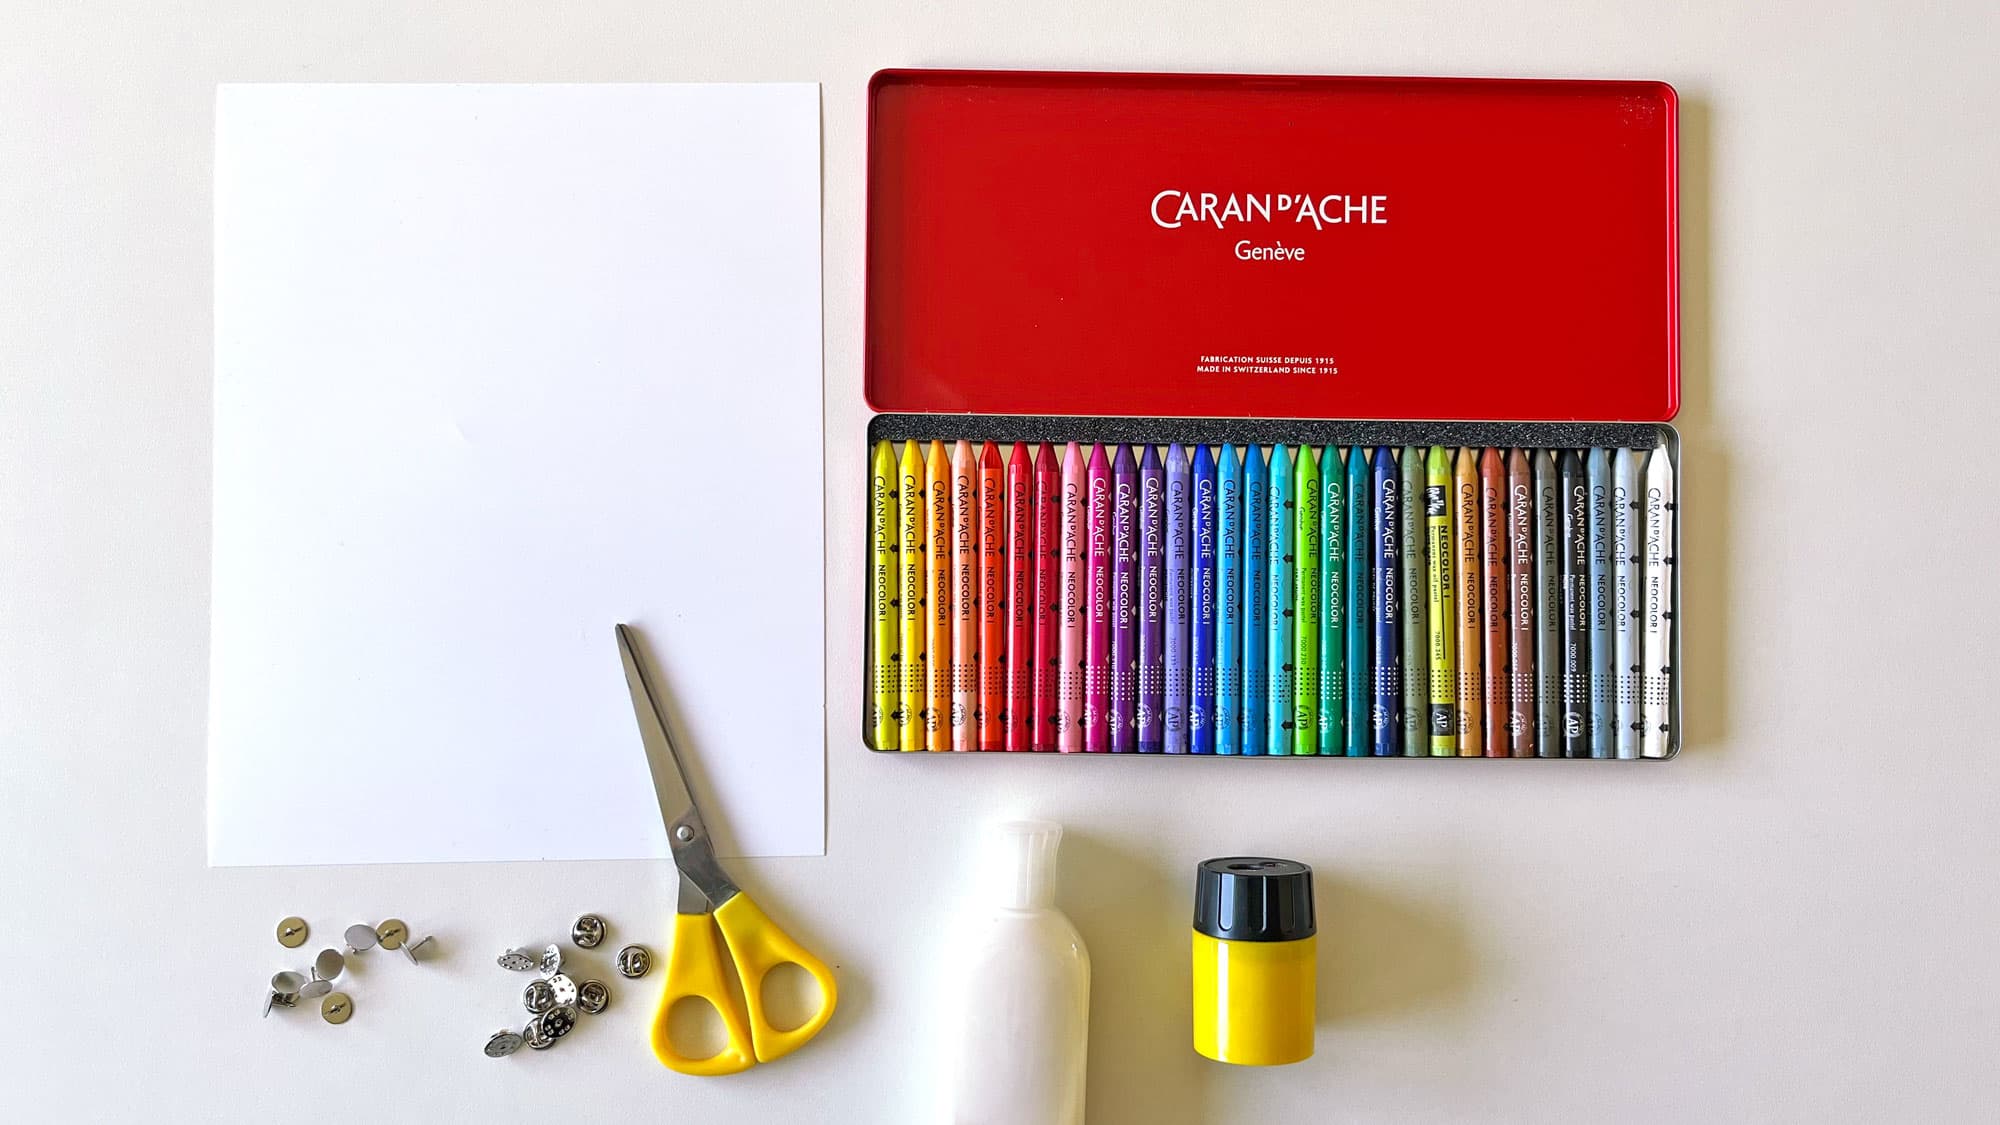
WHAT DO I NEED TO GET STARTED?
- • Neocolor I pastels
- • a pair of scissors
- • a pencil sharpener
- • shrink plastic sheets (arts and crafts shop)
- • strong glue
- • badge fasteners
- • varnish

STEP 1: PREPARE THE DRAWINGS
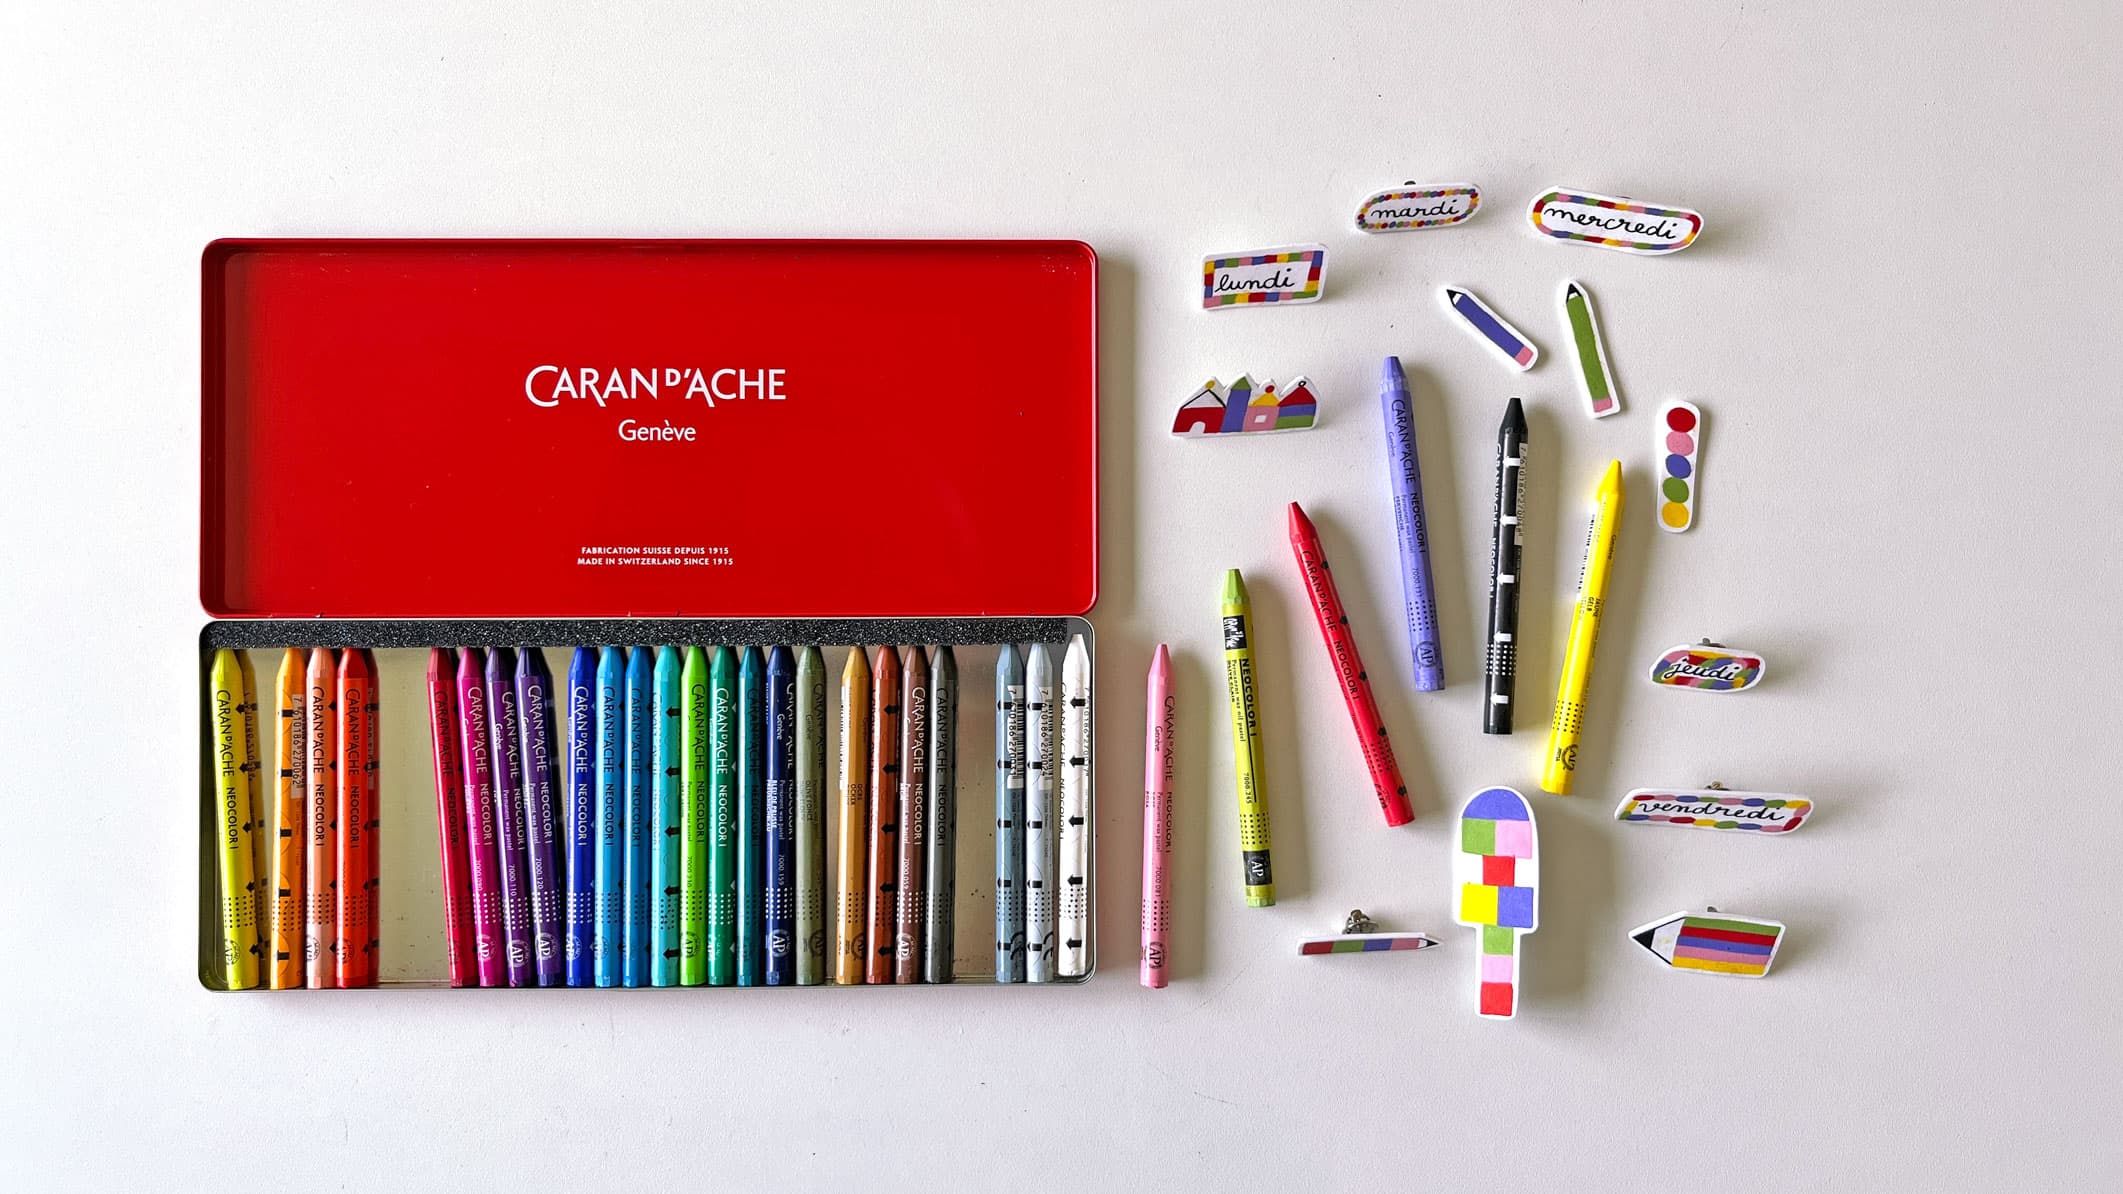
Draw on the grainy side of a sheet of shrink plastic using Neocolor® I pastels (format A4 here).
You can take inspiration from the drawings opposite or give free rein to your imaginations and use whatever colours you like.
Whichever option you choose, the drawings must be quite big!

STEP 2: CREATE THE SHAPES
Once you’ve coloured in the badges, cut them out however you want, making sure to leave a few millimetres of white outline.

STEP 3: COOK THE BADGES
Now place your badges on a baking tray lined with baking paper and cook the shrink plastic in the oven in accordance with the manufacturer’s instructions.
This is when the magic happens!

STEP 4: FINALISE THE BADGES
Once the baking process is complete, take the badges out of the oven. You will see that they have shrunk considerably. This is entirely normal, this is what the shrink plastic is designed for.
Once cool, stick the badge fasteners on the back using the strong glue.

Finally, to protect your badges, you can varnish them.
And that’s it! The badges are ready!
All you have to do now is to fasten them wherever you want – on a pencil case, a denim jacket or a cork frame as decoration.
The sky’s the limit!
And that’s it! The badges are ready!
All you have to do now is to fasten them wherever you want – on a pencil case, a denim jacket or a cork frame as decoration.
The sky’s the limit!
We’d be delighted to see the result of your creativity! Feel free to share it on the social networks using our hashtag #Carandache and mentioning @carandache.
Fancy continuing in this creative vein? Follow our other DIY guides.
Fancy continuing in this creative vein? Follow our other DIY guides.
Free from 60€ purchase.
Possible return under 14 days.
Possible return under 14 days.
Monday to Friday from 10am to 7pm and Saturday from 10am to 5pm.
+41 (0) 848 558 558
(Calls from Switzerland : at local rate. Calls from abroad : at telecom provider’s international rate.)
+41 (0) 848 558 558
(Calls from Switzerland : at local rate. Calls from abroad : at telecom provider’s international rate.)


 Deutschland
 Austria
 Belgium
 Etats-Unis
 France
 Italy
Italy Japan
Japan Netherlands
 United Kingdom
 Switzerland